Wednesday, July 15, 2015

Life Lately

When you have three kids, there are lots of surprises. LOTS. They're good and bad. I find myself constantly learning and lately, I'm learning that life without being pregnant or having a small baby is so easy. I was pregnant and/or had a small baby from 2009-2014 and while those moments are precious, I'm so glad that the kids are getting a little older. I've also learned that siblings are the BEST, which I already knew but everyday it gets better and better. Their bond gets stronger and the little ones are growing and maturing, able to do things they couldn't just a few months ago. Here's an update on each of the kids this summer. 

Madelynn
Age: 5 years, 2 months


Words cannot describe how quickly Madelynn is growing. To me, raising her is the toughest because every stage that she's in is a stage that I've never experienced as a parent. She keeps me on my toes, but it's such a magnificent experience. Madelynn has a HUGE imagination and is constantly displaying that with her stories, plays, concerts, and how she plays with her siblings. She has never met a stranger, so she makes friends instantly with whoever she sees. She's fearless, stubborn, loving, cuddly, smart, wild and super fun. Kindergarten starts in less than a month and she is thrilled. She has also asked to start playing soccer, so we're looking into getting her registered for fall. She has a passion for Jesus and is always asking so many questions about him and she learns so much at church. On Saturdays, we go to the Farmers Market together and she's my salesman for Madsy Bella Boutique. She has a gift, seriously. I hate that she's getting older, because that means that she's getting a year closer to being grown up, but I love that she's getting older. Our conversations are deeper, she's learning so much, we're seeing her personality develop and a little lady take over. It's a privilege to raise her. It really is. 

Annabella 
Age: 3 years, 3 months


Annabella is one of a kind. She's easily the loudest person we've ever met! We constantly laugh at how loud she gets when she's excited. She is slightly timid, but she'll try just about anything after a little convincing. Once she's tried it, she decides immediately whether she likes or dislikes it and if she dislikes it, she's done for life! But that's good, because she's decisive and knows what she likes. Her relationship with Madelynn has always been special, but her relationship with Noah is growing. As he gets older, he's able to play with her and they are spending more time together as Madelynn goes off and does big girl things. We're seeing huge changes with Annabella as she gets older. She's becoming more confident in social situations and is completely comfortable playing with other kids, even when her sister isn't there. Which is great because she'll be starting preschool part time in the fall. Her imagination is huge also and we love listening to her stories and imaginative play. She loves tiny little toys and we always laugh at her love for her plastic jungle animals. So far, she hates sports! She's the sweetest, cuddliest little one of all. She loves nothing more than one on one snuggles and will curl up like a baby right in our arms. She'll fight tooth and nail over a toy with her sister, but if she has something her brother wants, she'll give it right to him with no argument. She's a caretaker, a lover, cuddly and amazingly sweet. Raising her is an honor. 

Noah
Age: 17 months


Noah. Where do I start with this one? He is so curious, wild, stubborn, funny, smart, sweet, independent, and challenging. Raising a boy is so different than raising girls. Now that he's able to do so many things on his own, he is adamant about doing almost everything on his own. He's determined to be a big boy. He climbs, jumps, grabs, and helps. Something sweet that he does is take the girls juice to them. When he sees their cups sitting down, he grabs them and takes them to his sisters and it's so sweet. He plays, runs, chases and squeals right along with them. He has no idea he's as young as he is. He rarely wants to be held or cuddled anymore unless it's night time. Jonathan and I put him to bed in his crib every night and we hold him for a few minutes and sing to him before putting him down. He hugs and squeezes us while we sing to him in the dark. It is by far my most favorite part of the day. I think that Jonathan and I secretly try to be the one who gets to hold him before bed because of how precious that moment is right before bed. He will break out in a dance in no time and he loves doing anything that makes us laugh or smile. As challenging as raising him can be, it's so incredibly amazing. 

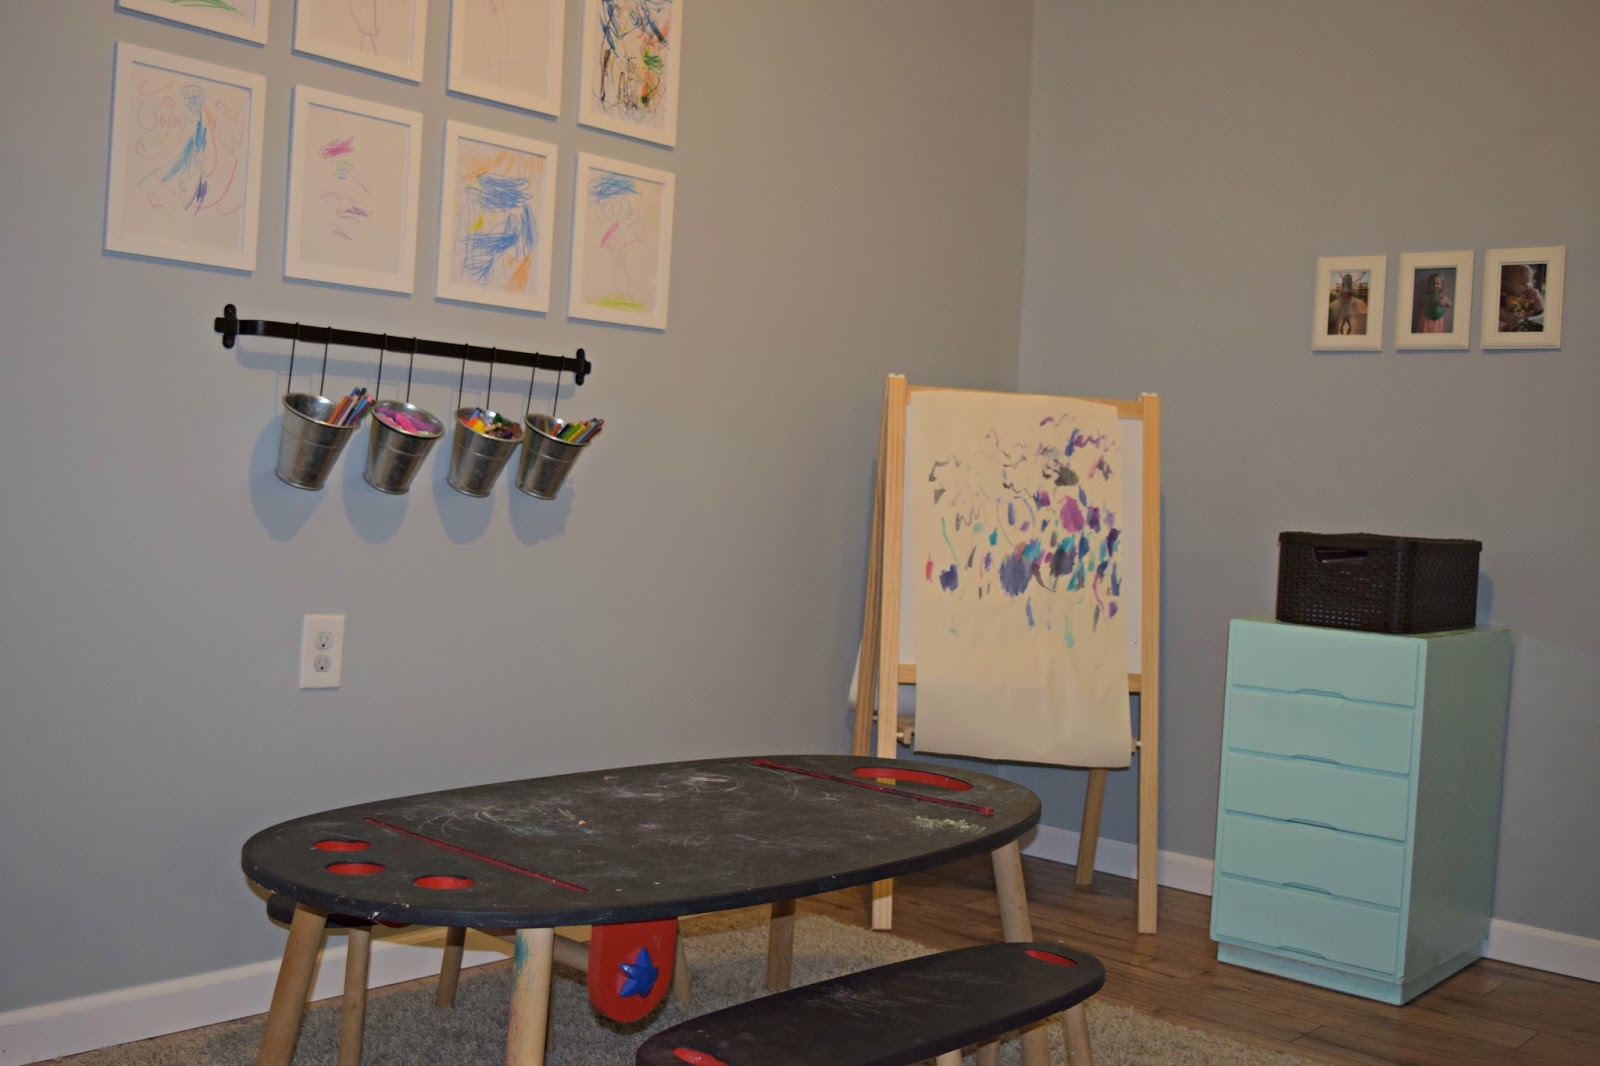
As my kids are getting older, I'm seeing that I'm starting to gain some of my independence back. They're happy playing in their playroom in the basement or upstairs in their rooms without me. They dress up, have tea parties, build, draw, run, squeal and have a blast together. I'm somewhat dreading how the dynamic will change once the girls go to school. Life will be very different and I don't like when my schedule changes, but life does that. Life is full of moments-periods that you think will never end-but they do end. And before you know it, your babies aren't tiny babies anymore. I know that sounds crazy because Noah literally is still a baby, but because he has older sisters, he's more mature and independent than other kids his age. When the girls were 17 months old, I was 4 months pregnant with their newest sibling. Not this time. I think we've decided that we're done having children and we're comfortable watching our precious babies grow and flourish, just the three of them. God has truly blessed me and I could not be more grateful.


Friday, July 10, 2015

Yes, I'm a Roadside Picker...

In my last post where I showed you guys our kids' art space in our new basement, I mentioned that I picked up the cabinet on the side of the road. I admit it, I'm a roadside picker. If I see something clean and awesome on the side of the road, it's probably going to come home with me. In this case, renters in our old neighborhood had moved and left a ton of stuff behind. The owners of the property threw it all to the curb and I mosied on down and drug it back up to my house! I definitely have rules when I'm roadside picking:


  1. It can't be in a pile of actual trash-it has to be clean enough to put in the car with my kids
  2. No fabric of any kind. Hard surfaces ONLY.
  3. It has to be something that I'm going to use right away. We don't have the space to store roadside junk that may or may not ever get used.
With that being said, I knew immediately what I would use that cabinet for. Which was to store art supplies for the babies. 

This is what it looked like before I painted it. (I had already taken the drawers out and sprayed them before I remembered to take photos)


The main issue with it is that it was dirty. I cleaned it up and then I used a green brillo-type sponge to rough it up and prep it for painting. I don't like to sand and I use every means possible to avoid it. Luckily, with spray paint, there's really not much need for sanding. 


The top was the worst part and yes, you can see the texture through the new paint. BUT since it was just a cabinet for the kids and I knew I'd end up putting something on top of it, I moved ahead. Another option if you were too concerned would be to Modpodge fabric on top, or even spray glue decorative paper. 


This is the spray paint I used. Rust-oleum's 2x Ultra Cover in Ocean Mist.


I applied two light coats to the entire cabinet and then I went through and touched everything up before letting it dry for several hours.


After it was dry, I put it all back together and moved it on downstairs. Down the road, I may paint the sides of the drawers a fun color and maybe put some drawer liners in, but for now, it's serving it's purpose just fine. 


Please don't tell me I'm the only one who picks up perfectly good furniture off of the side of the road?! I saved it from going to a landfill, so I basically saved the planet, saved money in my pocket AND provided a beautiful and functional piece of furniture for my children. Win, win, win! 

You can click here to see the full art space tour with before and after photos.

The Kids Art Space REVEAL!

I've already mentioned that the kitchen was #1 on our list to renovate when we bought our house, but the runner up was the basement. The previous owner had partially completed some of the drywall, but there was still a TON to finish. He had even taped dirty carpet to the floor! His decorating style definitely did NOT match mine! 

It was essential that we finish the basement quickly because we wanted to create a fun family space in the basement that we can all enjoy. Our new house is slightly smaller than our old house, so we needed the extra square feet. So far the room is finished, painted and floored. I'm slowly decorating it and dividing it into three zones: an art zone for the kids, a family room space with a TV and the kids toys, and a space for Jonathan's guitars, amps, etc. The family space is in progress, but the art zone is COMPLETE! This is what the basement looked like when we moved in:


And this is what this sad, dark, partially finished corner looks like now!


There are no windows in the basement, so it's necessary to decorate with light colors. The walls turned out darker than I wanted them to be, but the room is huge and I didn't realize it until I was finished, so I wasn't about to repaint. I'm sure I will later. The ceiling is also painted a pretty light blue, which is the same blue as in our kitchen. Jonathan installed the floors himself and we are in LOVE. We bought them from Lowes and they were insanely easy to install. Even though they're not real wood, it's next to impossible to tell.

For the kids' space, I used items that we already had. I bought NOTHING new. It is a HUGE boost of confidence for kids to see their art and their photos displayed. Their framed art work is from their old playroom. As they create new masterpieces, we'll swap them out with the old. The kids LOVE seeing their art decorate the room. 


I also displayed some photos of the kids next to the bright art on the other wall. There's a photo from each of their birthdays this year and a silly Madsy and Anna superhero photo. The cabinet was a find off the side of the road! It was sturdy and the drawers looked great, so after spray painting it (and a good scrub down!) it was the perfect addition to this corner. The drawers are wide and deep, so they easily house all of the coloring books, construction paper, paint, Playdoh, etc. 


We bought the easel and hanging storage from Ikea. Their coloring pencils, crayons and chalk are stored in the buckets.


(Disregard the change of art over the storage cabinet. I changed my mind after hanging these photos, they just weren't taking up enough of the wall)

We bought this Alex art table from Learning Express 4 years ago. It had obnoxious bright circles painted all over the tops of the table and stools, so earlier this year I repainted the surfaces with chalkboard paint. They love drawing on the table and it's even something Noah can do without worrying about the mess. 

I can't wait to finish the rest of the basement and show y'all very soon! For fun, here's a before and after! 


Have a great weekend!!!


Thursday, July 9, 2015

Our Farmhouse Inspired Kitchen

When we moved into our house, the kitchen looked like this: 

The walls were maroon on top, white below the chair rail. White laminate counters, white cabinets, black appliances (no refrigerator) and a chocolate brown island. The sink was a shallow double stainless steel sink with a wobbly faucet. And it was missing a drawer and two cabinet doors. We knew from the beginning that we would be immediately upgrading this room. 

With a few minor exceptions, here is what the kitchen looks like post reno:


The first thing I did was choose my color scheme. Our house is dark. There are windows, but because of all of the oak trees we have outside, there isn't a lot of natural light coming in. I chose a pretty light blue for the walls, above and below the chair rail. 

This is the view of the main wall extending from the eating area on the other side of the kitchen. 


I created two different zones in the kitchen with the art on the walls. The plates are hanging over the buffet, anchoring the eating area. The art grouping on the other side of the kitchen is anchoring that portion of the kitchen. 


This wall is huge and we didn't have a lot of money in the budget for artwork. I purchased this book from Amazon for around $15. The pages are perforated so you can pull them out and hang them. I hung them in Ribba frames from Ikea that we already had. 


You cannot have a farmhouse inspired kitchen without a farmhouse sink. Warning: If you buy a farmhouse sink for existing kitchen cabinets, you will have to modify your cabinets. We had to cut into the top portion of the cabinets and create a "shelf" for the sink to sit on. The sink is very heavy, so it has to be braced properly. We learned how to do it with Youtube videos and we had a carpenter friend help. 


I'm a huge fan of tuxedo cabinets and am very happy with how ours turned out. The gray on the bottom has a lot of blue in it and the white on the top brings the light in that we desperately need.


I wanted my island to stand out. We originally wanted to do butcher block counters on the island, but it was so much easier to go with the granite, plus we loved how pretty it was. I chose to do fun knobs on the island instead. 

Keurigs definitely don't look "farmhouse", but throw it on a tray with a distressed mason jar for kcups and it definitely helps. :) 


Most farmhouse kitchens have stainless steel appliances, but we chose slate. You don't see slate very often, so we liked the uniqueness of it. Also, it's smudge proof and still boasts stainless steel in the handles. We also got a stainless steel hood. The original kitchen had an over the range microwave, but it was far too low, so we replaced it with a hood and bought a countertop microwave. 


I added some touches from our families in our kitchen as well. These recipes are from Jonathan's late grandmother and the tea pitcher holding my wooden utensils is my late grandmother's. 


In my opinion, a room in your house is never finished. There is always room for improvement and changing a space keeps it fresh. In the long run, we do plan to change the floors, add a subway tile backsplash and there will of course be more homey touches added. I also want to recover the barstools with a fun fabric. 

I haven't added any pictures of our kitchen table because I still haven't styled the top of it or assembled the bench that we bought for extra seating. I'll add those photos as more work gets completed. Click here to see how I styled our buffet to reflect the farmhouse style.

Thank you for reading! Let me know in the comments what you think! Have you recently upgraded your kitchen? It's sooo stressful, but totally worth it!


Tuesday, July 7, 2015

Paint it, don't toss it!


We received this beautiful mirror as a Christmas present from my parents. At the time, it was the perfect addition to our dining room. But as always, tastes change. I would normally donate or sell something if it doesn't match my new taste, but I loved the character in this mirror. If there is something in your home that you aren't in love with, don't hesitate to change it. A simple coat of paint can make a world of difference. 

Here is our mirror in our old dining room.


It was a brown/bronze color. And here it is now!


(You'd think we love brown walls by seeing two rooms from two different houses in the same color, but truth be told, I hate the walls. We painted our dining room a beautiful dark gray after this photo was taken. We're currently using this mirror in our master bedroom and we have plans to paint this room as well. The previous owners painted it this color and it is far too dark for my taste.) 

To update the mirror, I used a sample jar of Behr's Premium Plus Ultra in a matte finish. The color is Island Oasis. I've already used it for other projects and had more than enough for the mirror. These sample jars go a long way when you're doing small projects around the house, so they're definitely worth the $3-$5. 

I didn't take a photo of the paint brush that I used, but it was an old short bristled brush that was dirty and stiff. I wanted the mirror to have an aged look, so the harder the bristles, the better. I drug a little bit of paint onto the mirror at a time, let it dry and then put a second coat. If you over apply the paint, you can lightly sand it in the spots that you want it to appear worn. There is no science to this. You don't have to prep the surface at all. This wasn't real wood, it was more of a heavy veneer, so it was really slick. It didn't matter, the matte finish adhered right onto the surface. 

Here is a detailed shot. You can see more of the aged finish in this shot, although the color is definitely more blue in person. 


Here's the finished product one more time.


I have a lot of things that I want to do in this room. Paint is #1. I also want to gradually change our furniture or paint it. I want a breezy, romantic and rustic feel in here. I want our furnishings to reflect mine and Jonathan's relationship. So I am adding photos of just us, wedding keepsakes, dating keepsakes, etc. I want this to be our oasis, so I have a LOT of work to do! The mirror definitely helps, though!

Now, go find something to paint in your house and tell me all about it!


Monday, July 6, 2015

July 4th in Jekyll Island

On Wednesday the 1st, Jonathan decided he wanted to sneak away to the beach for a long weekend. It's not unlike us to take last minute trips, but with three kids, it's definitely a bit more challenging than it used to be! Together, we pulled it off and at 7:30 Friday morning, we were on the road. I'm so grateful we got to sneak away and Jekyll Island was the perfect choice for our little ones. We ate lots of good food, played in the sand and the ocean, mini golfed, went bowling, found cool playgrounds, watched fireworks and just enjoyed being together. We were crammed into a hotel room with two double beds, a pack and play, and a chihuahua so we had no choice but to enjoy being together!


Waiting (not so patiently) on fireworks! They started 22 minutes late and the kids were exhausted. But once the fireworks started, everyone was so excited and mesmerized that the irritation from the hour before instantly dissipated. They were passed out before we got off the island. Or eye-yand as Annabella pronounced it. :) :) :) 


We were exploring St. Simons Island until this huge storm happened! We managed to explore the pier and a local farmers market and of course, we slipped in some super yummy icecream! Then we got the heck out of there and it rained the rest of the night. We ended up going bowling and playing at the arcade! 

All of the rest of the photos are from our last morning there. We grabbed breakfast at the hotel and brought it with us to eat on the beach. The kids ran around in the grass at the pavilion and then we all went down for a walk on the beach. It's always so hard walking away from the ocean for the last time. We miss it so much when we're gone. The kids LOVED it this year and (fingers crossed) we'll get to go back in September!